facebook
Duplicating
Tour copied successfully!

Before we begin

We are here to allow anyone to create amazing experiences so they can share and sell their tours to our users.

There are no limits to the kinds of tours you can create! Educational, personal, historical, architectural, whimsical - really anything. You can create a tour of your city or about your childhood. You can create a tour about movie locations or simply create a scenic route for a family trip. You are free to create tours from the most standard to the most bizarre on any subject and for any purpose.

However, before you start please note that tours must abide by UCPlaces terms of use policies or they may otherwise not be allowed to get published, get unpublished and may even get completely deleted from the platform.

While tours doesn’t need to be published for other users to be able to take them (you can still share private tours), UCPlaces has complete discretion on which tours will be allowed to get published on our search engine.

In order to get published your tour must provide a meaningful experience to your target audience. If our publishing team decides the tour isn’t yet ready for such exposure we will provide you with some feedback on what we think may be required.

Here are a few sample restrictions:

  • Tours must be safe! Route shouldn’t under any circumstances go through or to unauthorized, non-public or possibly dangerous places.
  • Any content that implies or supports hate will be promptly removed without notification.
  • Any content that is not suitable for users under 18 should clearly say so in the tour intro, description and audio.

Now that we put these things behind us let’s jump right into the fun stuff.

1. Choose the type of tour you are making

Now that we put these things behind us let’s jump right into the fun stuff.

“Driving” tours must stay on public roads and follow all traffic patterns including one-way streets. A tour driving around to your favorite art museums or statues and sculptures would be a good driving tour..

“Walking” tours have the same constraints as driving tours. A walking tour to visit local breweries would be a good example. They should be shorter in distance than driving tours and the points of interest closer together.

“Off-Road” tours can be on roads and through parks and other places that typically a car wouldn’t go. Maybe you want to create a tour of your college campus or your favorite National Park. These would be “Off-Road” tours. In this case the tour is in free navigation mode, which means the navigation system will not provide navigational instructions and the user will just follow the path shown on the map.

If your tours are aligned to official roads and you would like the nav system to provide guidance, simply choose Walking or Driving. If you are planning on off-road sections even for parts of the tour, choose the off-road option.

2. Name your tour

Simply click on the blue tab on top to type your tour name.

3. Create points of interest (POIs)

Create a route for your tour by simply marking all points of interest on your map. Keep in mind that for walking and driving tours the route will be aligned to official roads, while for off-road tours the system will create a straight line between each of the POIs. This means that you need to create a POI for every turn in off-road tours, even if it’s just for giving navigational directions.

When a user takes your tour, as soon as they get within proximity of a POI, the audio for that POI will start playing. Keep that in mind as you place your POI’s. Driving tours have a 30 ft range while walking and off-road have a 15 ft range.

A sample walking tour route

* Please notice that for every POI you create, the system will add a correlating tab with the number of the POI on it.

A sample off-road tour route

* Please note that for an off-road tour, the first POI must be located on an official road as we need to navigate users to the starting point (they could be driving or walking).

A few things to keep in mind:
  • Make sure the distance between each Point of Interest makes sense for the type of tour that you are making. For example, if you are creating a driving tour and two of the POI’s are only a block apart, the first POI needs to be short enough so that the audio finishes before the next POI begins.
  • For off-road tours, make sure the path is public and accessible. Do not guide people to or via any place that is unauthorized, non-public or possibly dangerous.

4. Add your amazing content

Step 1 : Add a tour photo.

It must be your own photo, do not use photos which you don’t not hold copyright ownership for.

  • Click on the intro tab (the first green tab)
  • Click on ‘Browse images’ and add your tour generic image.

It’s optional to add a picture for each Point of Interest.

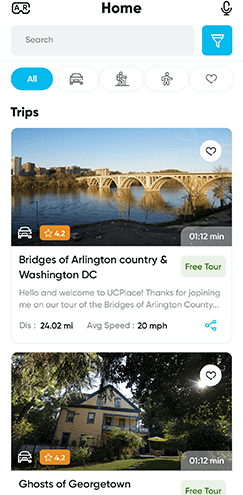
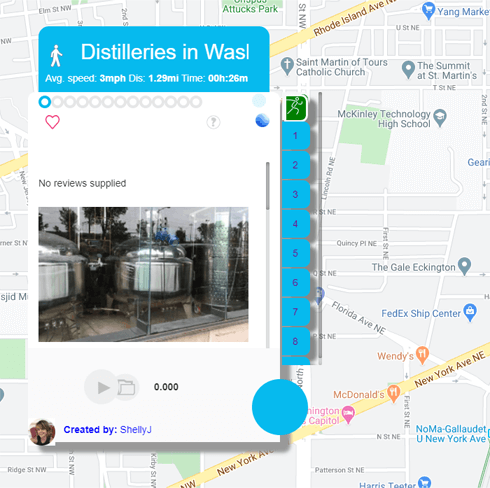
While not a must for the user experience, tours with pictures will often be picked over tours without pictures.

Step 2: Set a price.

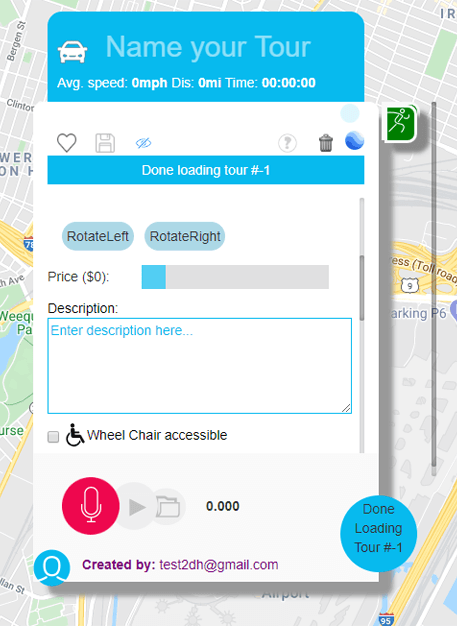
Using the slider, set a price from $0 to $10. When creating your first tour we advise to set the price to $0, (Free Tour) This will make it easier for you to get initial exposure as well as reviews/recommendations for your tour. You can always set and change the price for this tour later.

When you set a price for your tour, users will only be able to take the tour if they purchase it. Be aware they may still be able to access tour information without purchasing the tour.

When a user purchases a tour they will be able to take the tour anytime they want, even if the tour becomes unpublished for other users.

*Google Play and the App-store charges 30% for each transaction. The tour creator will be paid 30% for each transaction on a monthly basis. You must provide a PayPal account email address to receive payments from UCPlaces.

Step 3: Enter intro description.

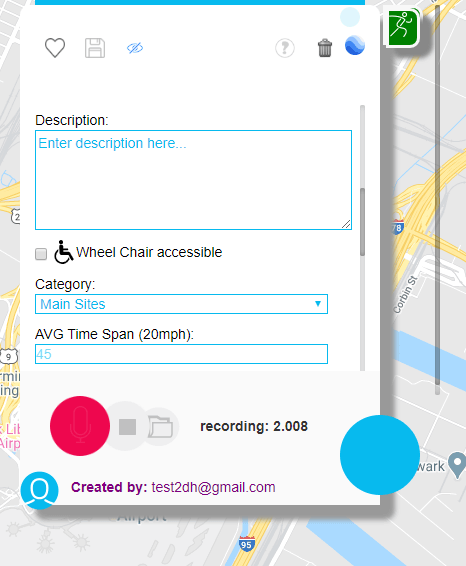
Enter a short description for the tour, like what it’s about, how long it’s going to take and where to grab coffee before the tour begins.

Step 4: Record Intro audio.

Similar to the intro description, in the intro you will set expectations for the tour. It’s a good idea to tell people how long it should take, what type of things the tour will focus on and about where the tour will start.

To record the audio simply click the red mic icon, and when you are done click the stop button.

Remember the intro audio plays immediately in the beginning, before the actual tour has even started. At the intro stage the user is being navigated from their current location to the starting point. So you could say something like “the tour will automatically begin when you get to our starting point at UCP Café. Please follow the directions on your screen and let’s have a great tour.”

Once you are happy with your recording press the save button! This is a very important step. Don’t forget to save!

Step 5: audio and pictures for each Point of Interest.

Repeat previous steps for each Point of Interest on your tour. Every POI needs a name, description, and audio. Photos are not required but are strongly suggested.

Most importantly click the SAVE icon for each POI you have modified. Don’t forget to save!

5. Test the tour

Once you are done adding audio and text to all your POIs you can simply take the tour on your phone using the UCPlaces app

Make sure you login with the same account you used when you created the tour on our website.

On the top left menu tap on ‘Created‘ in order to see the list of tours you have created then tap on the tour that you would like to test.

Listen to the intro audio and click the ‘Take me to starting point’ to test the tour in real mode. Follow the path and make sure each POI audio triggers where you expect it to. Make any changes or adjustments as necessary.

6. Tour Simulation

We also provide the option to take the tour in simulation mode, in this mode the phone will start the tour from your current location and will pass through your route and play the various POIs as if you’re driving the route.

To switch to simulation mode simply click on the gear icon on the top right side to get into the settings screen. Then choose Navigation Type and set it to simulation.

* Do not forget to set it back to Real mode when you are done.

7. Publish the tour

A published tour is a tour that is listed on our public search and tour list screens. Those can be taken by any of our users.

When you publish a tour it goes through a review process by our publishing team. The team will review each POI, photo, text and audio to see if the tour as a whole provides a meaningful experience to the target audience it’s created for.

UCPlaces does not guarantee that your tour will get published or be kept published, but we will do our best to help you get there.

To submit your tour for publishing simply click the ‘eye’ icon

If you have any questions,
please use our contact form.

We do our best to respond within 24 hours or less.

When contacting us please provide your account email address
as well as the Tour ID as it appears in the tour URL.